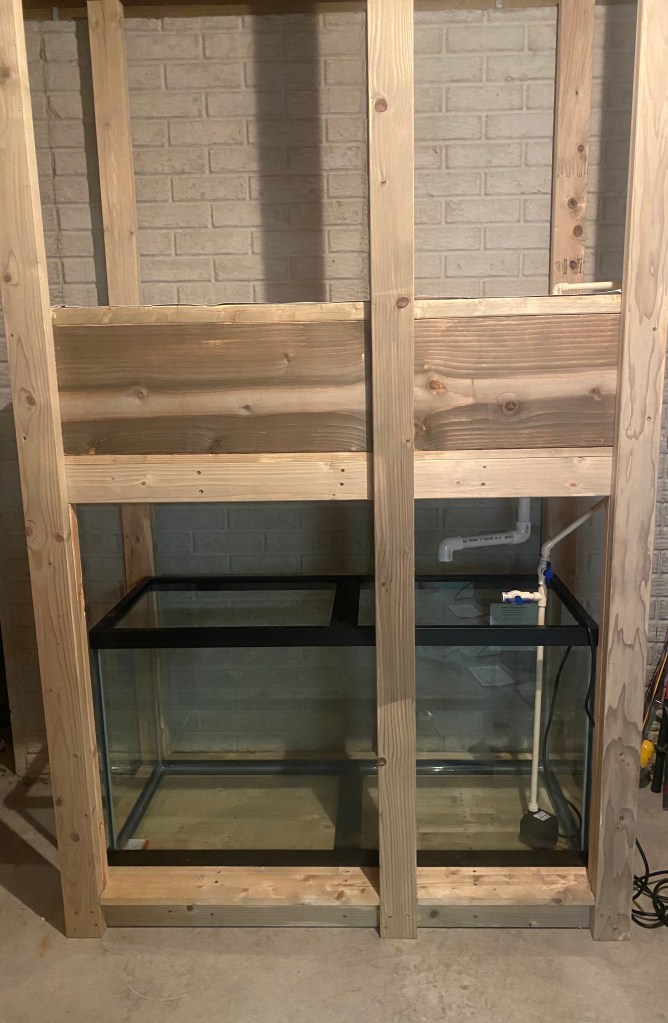
Well after what seems like forever, I have finally set the tank! The tank is actually quite heavy so it took some time to slide it into place and ensure it was relativley centered in the stand. Funny enough, I just recently realized I left all of the stickers on the tank and at this point I don’t really care, I am just so excited I got to this point!
As you can see I have installed the plumbing for both the siphon and the pump. The siphon plumbing is quite easy to install, especially since I bought a kit that came with every thing a person would need. It was a bit more expensive than building your own, but I wanted the convenience of installing a siphon design that has already been proven out. If I was to do it again I would build my own which I think would be at least 50% cheaper, especially if you can purchase the piping by the foot. The pump was still pretty easy to pipe, but took a little bit more thought. The first thing to do is make a material list. The pump came with some male IP by female fittings, but I did not think any of them would quite work for what I wanted to do, so after taking some hillbilly measurements and roughly laying out the design in my head I ran to Home Depot and grabbed the fittings. Just to warn you ahead of time, I had to buy a full 10’ of 1/2” CPVC but only needed 5’. All of the material is quite cheap, so having some extra pipe was not a big deal. An o-ring came with the pump which I was able to use on the CPVC fitting I purchased to connect to the pump. You will see in the picture two different ball valves. The reason for this is two fold. First, it is important to keep in mind that with this system the main method of adding oxygen to the water for the fish is through the draining of the grow bed, so I wanted a way of diverting the water while still adding oxygen to the tank if I needed to drain the grow bed and work on it for any reason. This is done by closing the vertical ball valve and opening the horizontal one. The second is you can open the side vale some, and with a little more plumbing create more turbulence in the water to add additional oxygen. The vertical vale will also allow me to adjust the flow to the grow bed if needed. I spent quite a bit of time measuring and designing the plumbing to pick the appropriate pump in order to avoid any need for throttling the system. It is important to note I did not glue any of the joints on the plumbing for the pump, the reason being that I have read you want to make sure you have a way to clean all of your pipes.
After the plumbing was installed I went and got my eldest daughter and we filled the tank together. She looked as excited as I was to finally fill the system. Once the tank was full we made sure the bell siphon was in placed and turned on the power! At this point there is no grow media in the bed as I wanted to make sure there were no leaks in the lining. Once the water was running I picked my daughter up and we watched the water run into the bed. The last part of this initial system test was to see if the bell siphon kicked on and off on its own and I am happy to say we were successful!!!
Now that the water is flowing through like I expected it to the next steps will be to fill the grow bed and hang the light.

Johnny’s Words of Wisdom – Don’t be Afraid to Make a Mistake: As with many things in life a person does not gain all of the knowledge they need by reading books or watching videos. I am a firm believer that the way we learn is by doing. Sometimes we set to doing our tasks and we are able to complete it without help or any issues. For me, most things I try come with a decent learning curve and mistakes are made along the way. These mistakes allow me to learn and make better decisions the next time around.
